
RAVPower SSD hard drives offer tons of storage, in a small portable package. They’re light-weight, compact, and can handle the abuses of digital life on the road, while keeping your files safe-and-sound. The only problem is, they have an annoying ‘virtual CD’ drive that just won’t go away. Here’s how to remove the virtual CD from RAVPower SSD hard drives with ease.
Removing The Virtual CD From RAVPower SSD
The Virtual CD on RAVPower SSD hard drives mounts as a separate drive when connected to your computer and contains Windows and macOS software to encrypt the contents of your SSD. Many of us may want to use encryption software other than that provided by RAVPower (such as that built-in to all major operating systems instead) and no matter how much you try to reformat the virtual CD device, all attempts to do so fail, as it’s locked at a firmware level.
The solution is simple. New firmware. You can remove the virtual CD device from your RAVPower SSD with a quick firmware update and a fresh formatting. Here are the quick and easy steps to rid yourself of that annoying partition forever.
To remove the virtual CD, you’ll need a Windows machine. This can be a virtual machine, run on macOS (using software like VMware Fusion or Parallels Desktop) or Linux. The firmware update only runs on Windows, so this requirement can’t be avoided. With your Windows machine, you’re ready to rock.
Note: This procedure will erase everything on the device, so back up any data on it before proceeding.
- Download the update firmware. JMS580_FWUpdate_Utility_v0_0_0_1 can be found here on TousLesDrivers. Un-zip the updater, once downloaded.
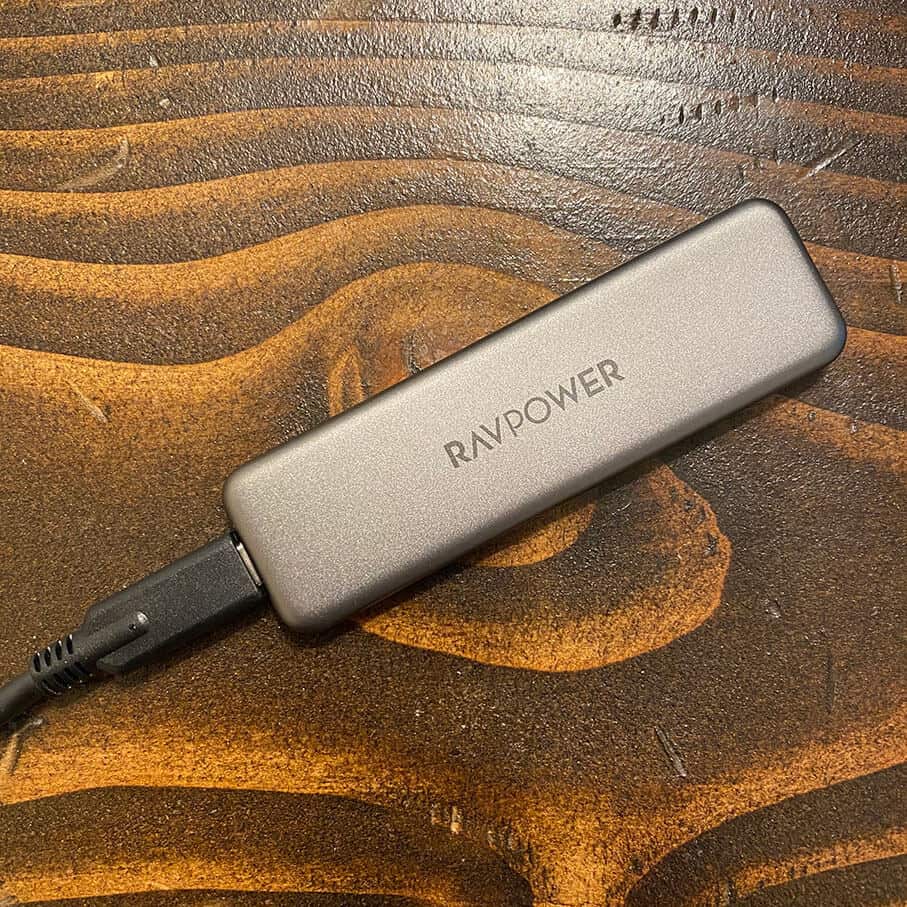
- Connect your RAVPower SSD hard drive to your computer.
- Run the firmware update by launching the updater executable (admin rights are required). The updater will identify the attached device and notify you that an update is required. Simply click the ‘Update’ button to proceed. The entire process should take only a second or two (though it can take up to a minute). You’ll be prompted to disconnect your SSD once the operation has been successful

- Your drive is now ready to be formatted, with that annoying virtual CD gone forever. To format the device, macOS is easiest, as the built-in Disk Utility will easily identify the drive and allow you to format it for the filesystem of your choice. You can also use a Linux system to format your device (guides to do so can easily be found with a quick Google search). While Windows doesn’t see the unformatted device, there may be some more advanced Windows formatting/partitioning applications available that can identify the attached device and initialize it.

There you have it! A quick and easy guide to remove the ‘virtual CD’ from RAVPower SSD hard drives forever.
RAVPower SSDs are great storage solutions on the go and now without the unneeded virtual CD they’re even more useful than ever. Enjoy your storage solution without the unnecessary addition.
Huge thanks to B. Nguyen on Amazon for first offering these instructions to remove the virtual CD. I’d searched high and low for how to make it happen, without success, until he finally posted the solution. The instructions are published here for clarity and to simplify the steps. Hope they’re helpful to others. If you found this guide to be useful, take a second to click the above link to his Amazon review and click the ‘Helpful’ button, to help others find the solution easier.